Well, it has been an eventful end of March early April here at the Hunt Homestead! On March 29th (which is also the little lady’s birthday) the hubby had surgery to clean out one of his sinuses. Then a few days later we get the call that the little lady has thrown up and has the stomach bug. Poor girl had tryouts for softball that day and was devastated to miss it. So I did what any good mom would do…mask up and panic….and then make soup for when my girl was better!

So years ago….so long ago I honestly can’t remember I started making my own broth (I have another post about making vegetable broth from my veggies scarps). It started while trying to make my Noni’s soup from an oso busco and it has evolved from there. Please don’t think I am making homemade broth for all my cooking-nope still coming in hot with the box of broth for a lot of things. But when I can I try and make my own. Making homemade chicken stock is a favorite of mine to do with a leftover roasted or rotisserie chicken. When we are done eating the chicken I will either make the soup the next day or freeze what’s left to make broth/soup another day. So this is what I pulled out of my freezer for making the broth…These bags of frozen veggie scraps, a chicken carcass, and two legs we didn’t eat from the same bird.

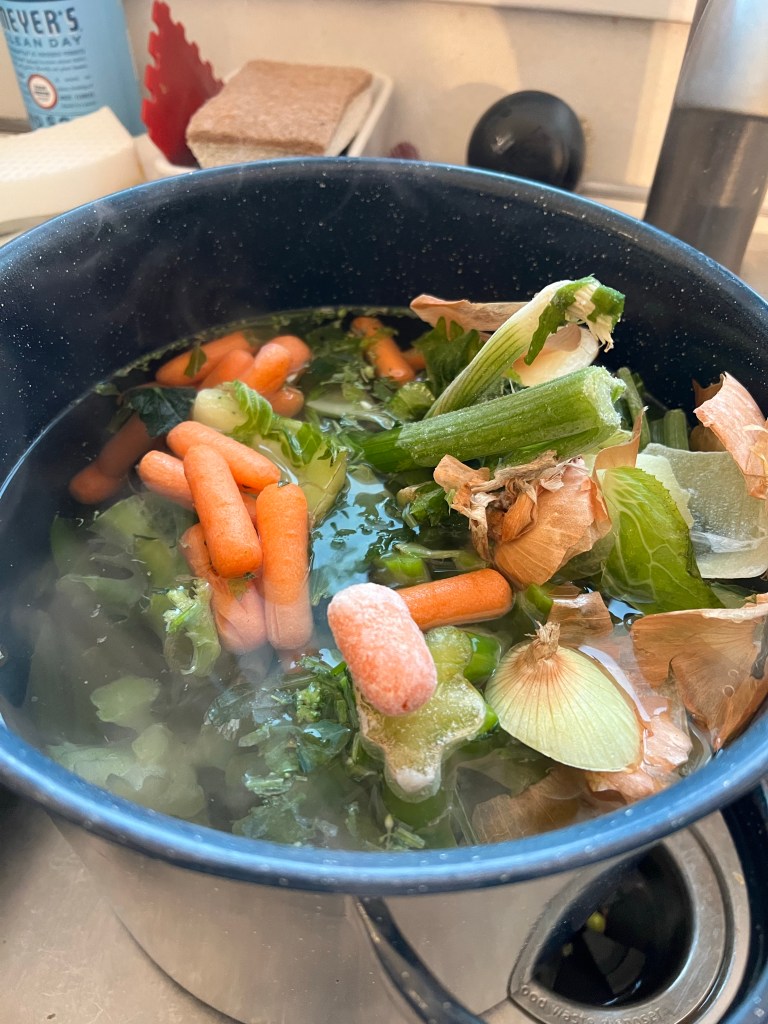
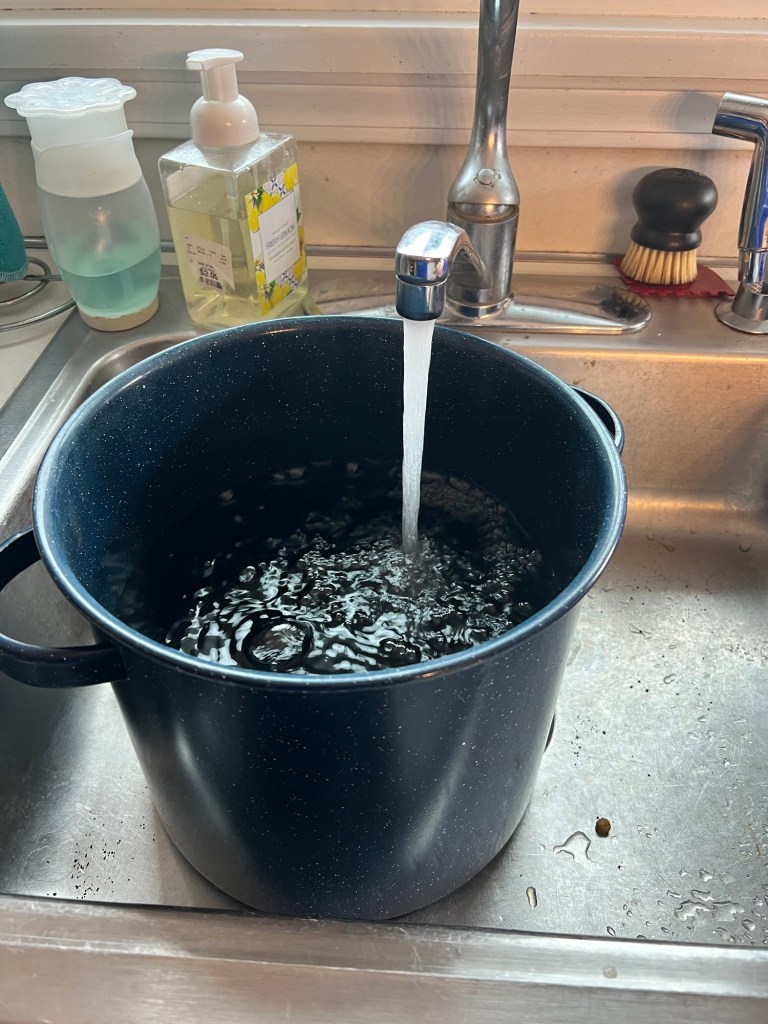
So to make stock of any kind you basically take your ingredients and simmer them for a few hours. So I basically take my large stock pot (bought this years ago at x-mas tree shop for like ten bucks) and fill it with water. Then I dump in BONED chicken (that is the key to good stock is the bones-sorry for those who get grossed out by that stuff) and then any frozen veggie scraps I have.

Test
So now you are ready to set it and forget it. You want to bring the veggies and chicken up to a boil and then lower it to a simmer. For me on my gas stove that is usually a hair above low. You want to simmer it until the meat is falling off the bones and everything is broken down. The liquid should also look a little shiny like below. Now for those of you who are a tiny bit squeamish…skip the next few sentences–the shine is the gold…. it is the collagen and good stuff from the meat/skin/and bones breaking down. That is what makes it bone broth not regular broth because of the breakdown of the bones in the stock. Some of the shine is the fat (because I used legs) but some is that good stuff from bone broth.

So now I will typically let my stock cook for a bit…but if you are in a hurry you can strain it right away just be careful…I have learned many a lesson the hard way! So I typically strain the broth right into the pot if I am making soup that day or into my large bowl which I did here. I next then pick through the strained material to pick out all the chicken and then that becomes the chicken for my soup. Now if you don’t have a. lot of meat left on your bird you can always add canned chicken when you make your soups or boil a chicken breast or two in the soup and pull it out and slice it when making the actual soup.

So what I have left in the bowl is the broth and the chicken for me to use the next day to make my chicken noodle soup and the other container is two cups of broth that I freeze if I need broth for a recipe or someone wants some quick chicken noodle soup for lunch on a weekend.

So I promise I did take pictures of the finished soup but I posted to Instagram and forgot to save the images…maybe someday I will get it together (not likely though). So to make the actual soup…here is what I do
- You chop an onion and celery and brown for a few minutes until soft in a Dutch oven or large pot.
- Then you add carrots (I love carrot chips in my soup so I don’t have to chop-but if using real or baby chop them up a bit)
- Add your broth and bring to a boil. Add chicken bullion to taste (I use better than bullion and usually add around a tablespoon-sometimes I don’t need as much). Bone broth can sometimes be a bit weak depending on how much it boils down compared to how much meat/bones went in
- After the veggies are soft add your noodles (I prefer egg noodles). Cook until the noodles are done to your liking.